Your first bot
Chatto combines the consistency of a finite-state-machine with the flexibility of machine learning. It has three main components: the classifier, the finite-state-machine and the extensions.
A very basic directory structure for Chatto would be the following:
.
└──data
   ├── clf.yml
   └── fsm.yml
Start by creating the data directory as well as the YAML files.
mkdir data
touch data/clf.yml data/fsm.yml
The clf.yml file
The clf.yml file defines how the user messages will be classified into commands (intents). Start with this very simple configuration:
classification:
  - command: "turn_on"
    texts:
      - "turn on"
      - "on"

  - command: "turn_off"
    texts:
      - "turn off"
      - "off"
The fsm.yml file
The fsm.yml file defines the transitions between states, the commands that make these transitions, and the messages to be sent in them. Start with this file contents:
transitions:
  - from:
      - "initial"
    into: "on"
    command: "turn_on"
    answers:
      - text: "Turning on."

  - from:
      - "on"
    into: "initial"
    command: "turn_off"
    answers:
      - text: "Turning off."
      - text: "❌"

defaults:
  unknown: "Can't do that."
Run your first bot
To start your bot, run:
chatto --path data/
If you're using Docker, run:
docker run \
    -e CHATTO_DATA=./data \
    -v $PWD/data:/data \
    jaimeteb/chatto:latest \
    chatto --path data
Interact with your first bot
To interact with your bot, run:
chatto cli
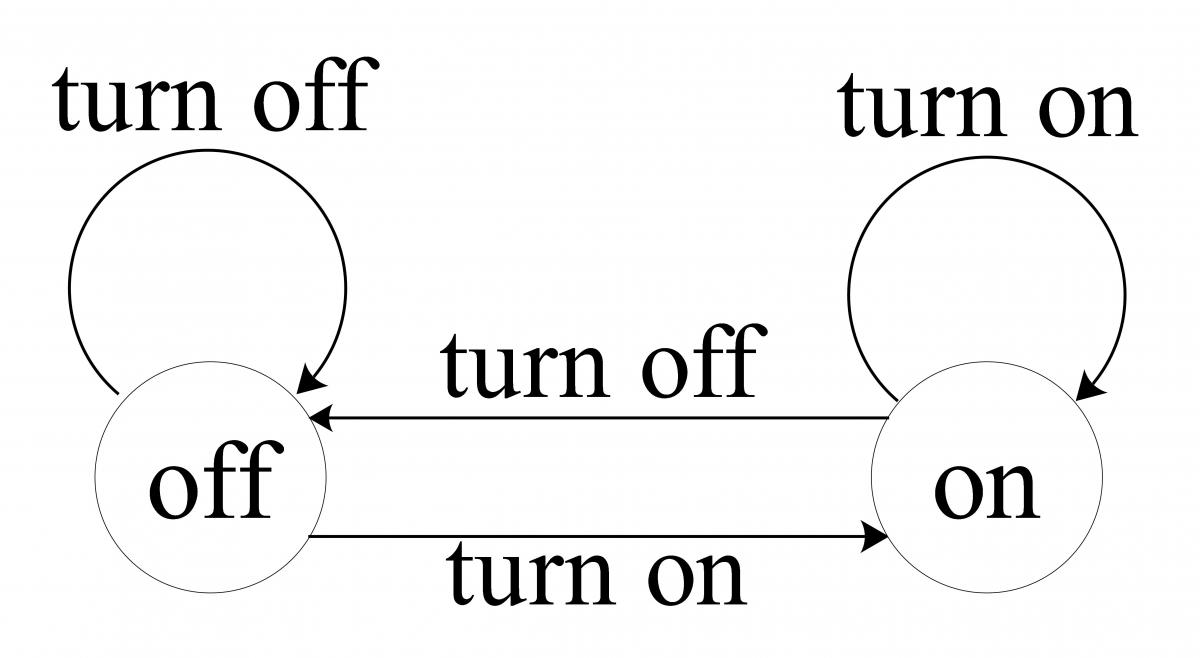
That's it! Now you can say turn on or on to go into the on state, and turn off or off to go back into initial. However, you cannot go from on into on, or from initial into initial either.
Here is a diagram for this simple Finite State Machine: